

Kiddipedia
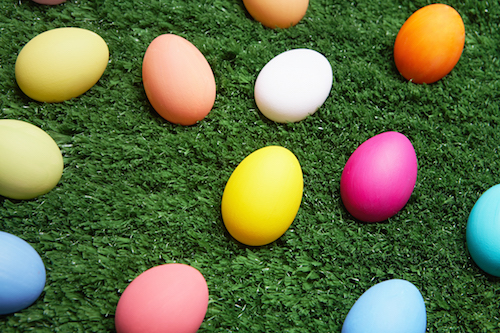
Dyeing Easter Eggs is one of the most beloved and fun-filled traditions you can share with your kids during the Easter holidays. It’s a budget-friendly, hands-on craft that sparks creativity, encourages family bonding, and can easily become a cherished annual tradition. From stained fingertips to colourful masterpieces, this is an activity that delivers joy, laughter, and lifelong memories.
Let’s dive into this fun kitchen craft and explore a variety of egg decorating techniques that will keep kids of all ages engaged and excited.
Here are just a few easy ideas to get you inspired:
Age Guideline: 3 Years and Up
Egg Dyeing Time: 30 minutes (not including drying time)
You’ll need:
- Hard Boiled Eggs
- 3 deep bowls (that will allow the eggs to submerge one at a time)
- 3 cups of boiling water
- Large spoon
- White Vinegar
- Food colouring
- Flowers or Leaves
- String or Ribbon
- Baking Paper
- Sticky tape
- Ribbon
- Gold Paint
- Small paintbrush/s
- Egg Cup holder

Step-by-Step: How to Dye Your Eggs
- Pour 1 cup of boiling water into each bowl.
- Add 2 teaspoons of white vinegar to each.
- Add 20 drops of food colouring (or until your desired shade is reached).
- Use a spoon to gently lower a hard-boiled egg into the bowl. Submerge and move gently for 1–2 minutes.
- Remove and place on baking paper to dry (the colour will deepen as it dries).
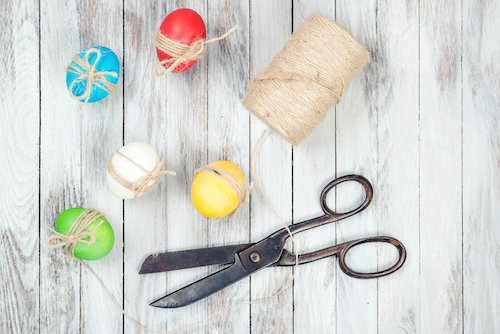
1- String Eggs
Before the colouring wrap each egg with either string or rope to make the desired pattern and or shape on the egg. Gently tie a knot to secure it.
Follow the dyeing instructions
Unwind the string from the eggs to reveal the pattern.
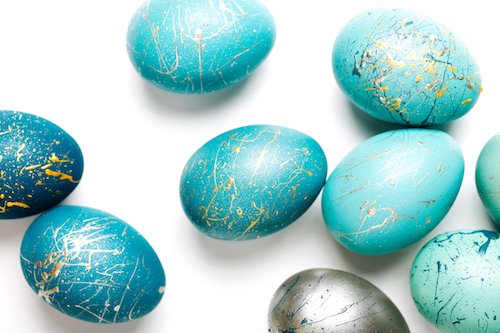
2- Speckled Eggs:
After you have completed the dyeing and the eggs have dried use a paint brush to flick gold paint onto the eggs.
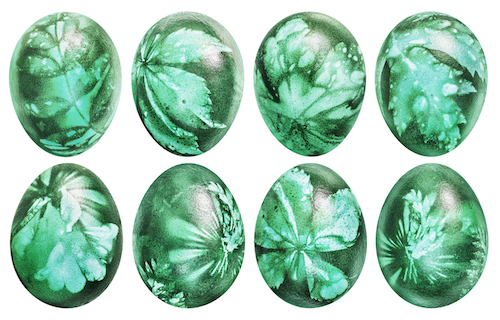
3- Pressed Flower Easter Eggs:
- Before you colour the eggs take a pair of stockings
- Cut into 4-inch squares.
- Lay your flower or leaf down on the middle of the fabric
- Lay your egg on top of the leaf then cover with the hose. Make sure it is tight!
- Then use your twist tie to secure.
- Make sure your leaf is tight on the egg, if not, the dye will seep into the spots and bleed colour where your leaf print should be.
- Lower your eggs into the dye and let sit for at least 30-45 minutes – or longer if you want darker colours.
- Place eggs on baking paper
- NB: This is a crucial step: Make sure you let your eggs dry before taking off the stocking. If they are still wet, they may drip into the imprinted spot. Being wrapped in the hose longer also makes them darker.
- Make sure the eggs don’t dry for too long or it will pick up imperfections from where they are laying.
- Make sure the leaf side isn’t touching anything when drying.
- Dry the egg for about 45 minutes up to an hour. Unless they are super wet and in that case, try an hour and a half. Don’t make my mistake and let them sit overnight.
- Once you take the hose off, you’ll want to make sure the rest of the egg is dry before pulling off the leaf. This only takes 10-15 minutes – unless your egg is completely dry already.
- After everything is dry, gently pull off the leaf and see your imprint!
4- Sticky Tape Eggs
Before you colour the eggs cut the sticky tape into small squares and press them onto the egg.
Follow the dyeing instructions.
Once Eggs are dry peel off the tape to reveal the pattern.
5- Freehand paint
When all else fails, and there isn’t enough time for any of the fancy-smanshy decorating ideas above, you can always simply grab a paintbrush, let your inner artist free and creativity take over to paint freehand.
Simply dye and dry the eggs as per the above instructions.
To ensure your paintings don’t ruin place the dyed eggs into a cup or holder so to enable easy handling.

More Creative Ideas:
- Natural Dyes: Try beet juice, turmeric, red cabbage, or onion skins for a chemical-free option.
- Crayon Resist: Draw on eggs with a white crayon before dyeing. The wax resists the dye, creating secret patterns.
- Ombre Dip-Dye: Dip just the bottom of the egg for a few seconds, then lower further for a gradient look.
- Marble Effect: Add a little oil to the dye to create swirling marble patterns
Tips for Success
- Cover your workspace with newspaper or a plastic tablecloth.
- Coat hands with a little oil to prevent staining.
- Let kids wear aprons or old clothes.
- For sensitive kids, use gloves or tongs.
Safety & Storage Notes
- Eggs decorated with non-food-safe materials are for display only.
- Store hard-boiled eggs in the fridge and eat within one week.
Make It a Tradition
Create a special family moment by dyeing eggs together every year. Play music, take photos, and let creativity run wild. Whether it’s your toddler’s first Easter or a tween’s tenth, this timeless activity brings joy to every age.
Don’t forget to share your creations online with #EasterEggMagic — we’d love to see what your family creates!
For more fun Easter Ideas visit Top 10 ‘Egg-cellent Easter Egg Hunt Ideas
You might also like to read:
Top 10 ‘Egg-cellent Easter Egg Hunt’ Ideas


1