kiddi
Creative Family Fun: How Parents Can Use Laser Engraving to Craft Memories with Kids
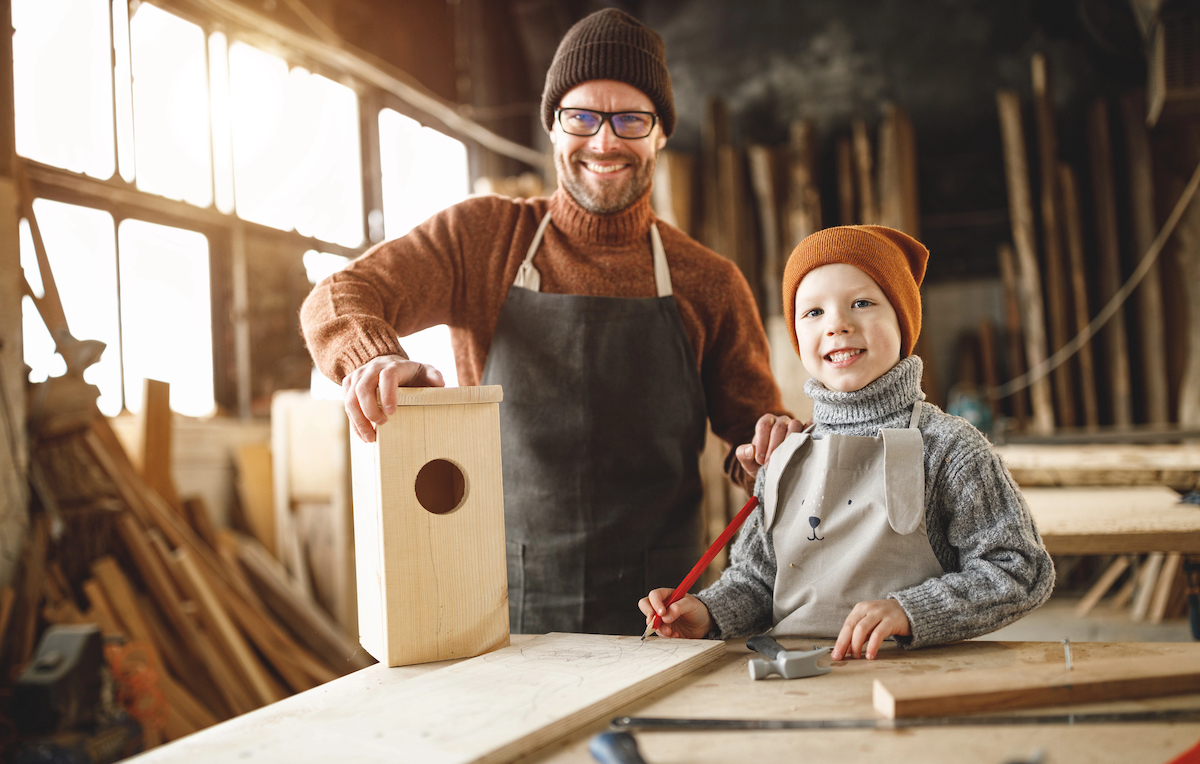
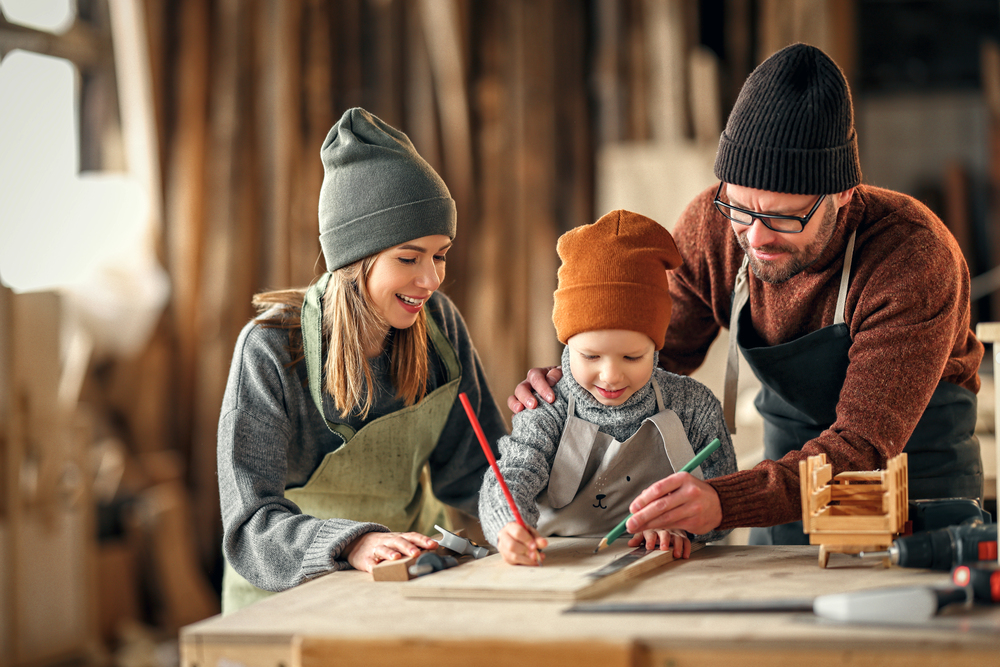
Tired of flimsy plastic toys cluttering your home? Imagine swapping those for beautiful wooden keepsakes you create together, with just a little help from a CO₂ laser. From personalised nursery signs and name puzzles to reward charts and custom toy labels, laser engraving is a game-changing hobby that brings families closer, sparks creativity, and sneaks in STEAM learning without the fuss.
Whether you’re a crafty parent in Sydney, a DIY enthusiast in Melbourne, or simply looking for ways to keep little hands busy and away from screens, laser engraving offers a safe, mess-free way to connect, create, and calm the chaos. Projects often take less time than a toddler’s snack break, yet the memories you build will last a lifetime.
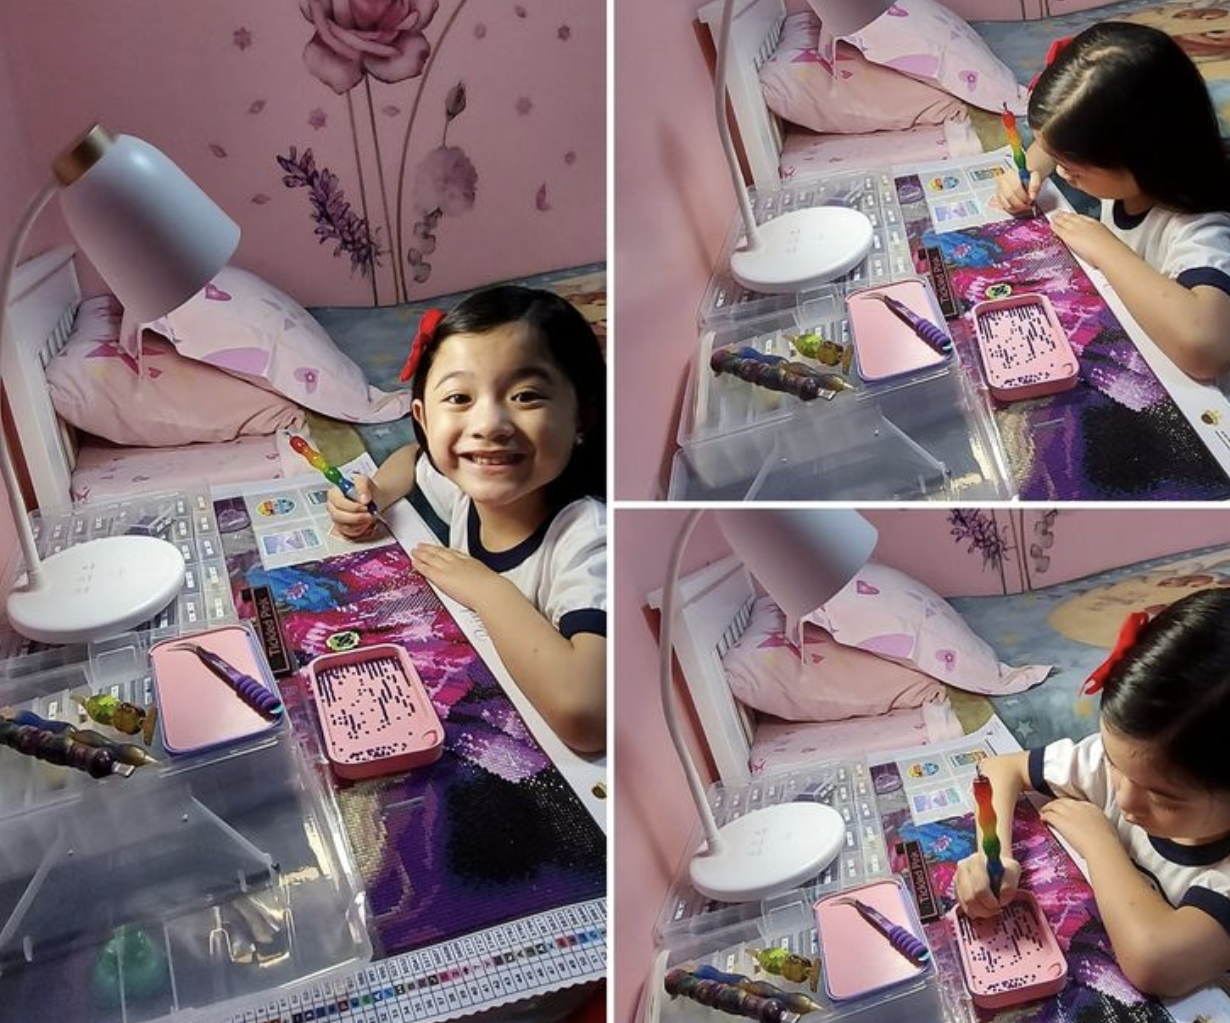
Take it from me: one rainy Saturday, we engraved a wooden animal puzzle. My daughter now won’t go to bed without “her moo cow puzzle.” It’s been a win for screen-free play and a proud moment of creative accomplishment for both of us.
Why Parents Love Laser Engraving
-
Creative Bonding Time: Kids choose the designs, you handle the tech.
-
Quick Wins: Finish projects in a single nap time.
-
Customised Play: Create educational toys like alphabet boards, puzzles, and visual routine charts.
-
Eco-Friendly & Reusable: Reduce plastic waste with natural materials.
-
Intro to STEAM Skills: Design, tech, and problem-solving all rolled into one.
Kid-Friendly Project Ideas
-
Personalised name signs for bedrooms or daycare
-
Alphabet and number puzzles
-
Custom reward charts (brushing teeth, getting dressed, etc.)
-
Milestone photo props and growth charts
-
Wooden drawer labels for toy organisation
These projects don’t just look great—they support fine motor skills, build routines, and encourage learning through play.
Choosing Safe Wood for Kids’ Projects
Safety first! When making items for children, opt for non-toxic, smooth, and splinter-free woods such as:
-
Birch plywood — great for puzzles and learning boards
-
Bamboo — durable, eco-friendly, and smooth
-
Low-formaldehyde MDF — perfect for painted projects (seal edges!)
-
Pine or Beech — light-colored with gentle grain
Parent Tip: After engraving, lightly sand edges and avoid harsh finishes. A natural oil like coconut oil is a safe way to enhance the wood grain.
What You Need to Get Started at Home
-
A CO₂ laser cutter (40W to 100W is ideal for family-friendly projects)
-
Easy-to-use design software like LightBurn
-
Wood blanks or small boards (pre-cut shapes work great)
-
A safe, well-ventilated workspace
-
Optional: child-safe paints, glue, and soft cloths for decorating
Helpful Hint: Save your offcuts — they’re perfect for small tags or to let kids “practice” painting.
Simple Steps for Family Engraving Projects
-
Let Your Child Choose the Design — animals, letters, or fun shapes build excitement.
-
Test and Adjust Settings — lighter settings keep things safe and smoke-free.
-
Focus the Laser and Start Engraving — supervise while kids watch the magic happen.
-
Clean and Decorate Together — wipe away soot, then break out paints or markers for the fun part.
Safety Tips for Families
-
Use the laser in a ventilated, child-safe area.
-
Never leave the machine unattended.
-
If possible, use a shielded machine or install safety covers.
-
Teach older kids how the laser works to build respect for the equipment.
For Aussie Makers: Mastering Wood Engraving with a CO₂ Laser
If you find yourself loving laser crafting—or want to explore beyond family projects—there’s a technical side to master. Whether you’re a hobbyist in Sydney, a custom signmaker in Melbourne, or just passionate about personalised gifts, understanding your CO₂ laser’s capabilities will unlock new creative possibilities.
What is Wood Engraving with a CO₂ Laser?
Wood engraving uses a focused beam of infrared light to burn or etch designs into timber. Unlike traditional carving, CO₂ lasers don’t touch the wood physically, resulting in cleaner, more precise, and splinter-free finishes accurate down to fractions of a millimeter.
Why Use a CO₂ Laser for Wood Engraving?
-
Unmatched Detail: Crisp logos, text, and images without damaging wood grain.
-
Customisation: Perfect for one-off personalised pieces or larger runs.
-
Versatility: Works on softwoods, hardwoods, MDF, plywood, and bamboo.
-
Efficiency: Projects done in minutes, not hours.
-
Eco-Friendly: Minimal waste compared to cutting by hand.
Choosing the Right Wood for Engraving
| Wood Type | Performance | Notes |
|---|---|---|
| Pine | Good | Soft, engraves easily, but can scorch unevenly |
| Birch/Plywood | Excellent | Budget-friendly, consistent surface |
| MDF | Very Good | Smooth, ideal for signage |
| Jarrah | Fair | Dense, requires higher power |
| Tasmanian Oak | Good | Engraves well with minimal smoke |
| Bamboo | Excellent | Eco-friendly, popular for kitchenware |
Pro Tip: Avoid high resin or oily woods like cedar or walnut to reduce smoke and uneven burns.
Essential Equipment
-
Laser Power: 40W to 100W for engraving; higher wattage for cutting thicker materials.
-
Bed Size: Around 400x600mm or larger suits most home workshops.
-
Software Compatibility: Use LightBurn, RDWorks, or similar to import designs from Illustrator, CorelDRAW, or Inkscape.
Step-by-Step: How to Engrave Wood
-
Prepare Your Design: Use vector files for sharp lines; raster files for shading.
-
Choose Material and Settings: Test on scrap wood; adjust power (20–60%), speed (200–500mm/s), and DPI (250–500).
-
Focus the Laser: Proper focus ensures clean, sharp edges.
-
Start Engraving: Monitor for smoke or irregularities.
-
Clean the Surface: Brush or wipe away residue; sand if needed.
Pro Tips for Better Results
-
Apply masking tape to reduce soot stains.
-
Engrave before cutting to keep surfaces clean.
-
Regularly clean the laser lens.
-
Engrave with the wood grain direction for best appearance.
Popular Projects to Consider
-
Personalised chopping boards for gifts and weddings
-
Business signage for local shops and cafés
-
Family name plaques and wall maps
-
Educational toys and puzzles
-
Coasters, keyrings, and ornaments
Safety Reminders
-
Always ventilate to remove fumes.
-
Wear protective eyewear if no built-in shield.
-
Never leave the machine unattended.
-
Keep a fire extinguisher nearby.
Final Thoughts: Less Mess, More Meaning
Laser engraving is more than just a craft—it’s a way to build memories, teach new skills, and create beautiful, lasting pieces with your family. Whether you’re making your first wooden puzzle with your toddler or perfecting a high-end sign for your business, this technology opens doors for creativity, connection, and meaningful play.
Ready to get started? Check out beginner-friendly CO₂ laser machines from OMTech Laser Australia—reliable, safe, and perfect for Aussie families and makers alike.