Mummy To Twins Plus One
Christmas is such a magical time for kids and why not make it more magical with your own advent calendar.
With a handmade advent calendar, you can add personal touches to what the kids get each day.
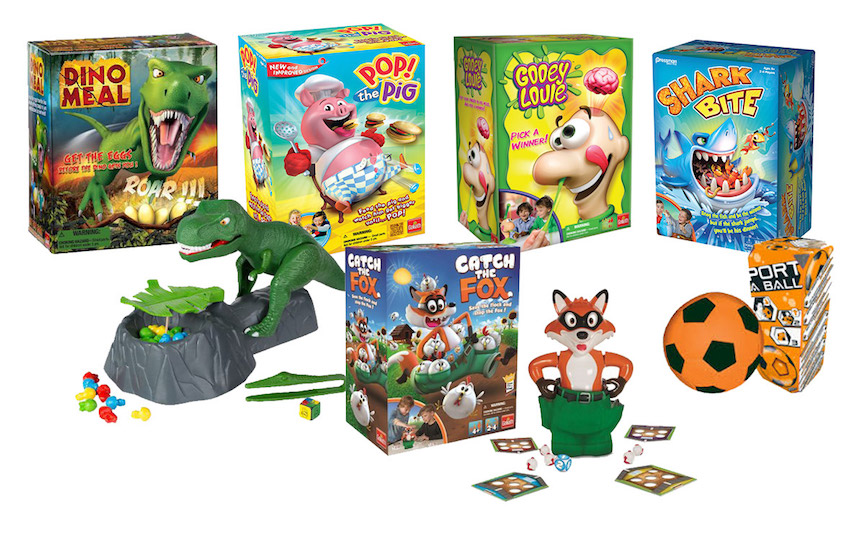
Maybe they get toys, sweets, fun days out or a mixture of toys and surprises. It is up to you what you add. I couldn’t put a lot of things in due to the size of the cups, so this might limit what you add.
- Thick Board to attach the cups to – it needs to be really strong (I ended up getting a foam board)
- Paper cups
- Sweets/treats
- Tissue Paper
- Rubber Bands
- Cardboard (I used old boxes) for the top of the house and for bottom of cups & Toilet Roll – white tissue for toilet roll
- Glue gun/glue
- Sliver Pen/whatever colour you wish to have
- Scissors

Learn from my crafting mistakes on this project:
- I did create this first with 2 sheets of standard cardboard but it was too flimsy and didn’t hold the cups.
- I also stuck the cups on the cardboard without a flat cardboard surface under them and therefore they came off easily. The cups I used were not 100% flat.
- I ran out of glue nearly at the end of my final version of the calendar and had to go to the shops to get more. (The glue I bought wasn’t the right size so meant another trip to the shops)
- When I purchased the foam board, I thought I purchased red tissue paper, but I got crape paper. Don’t use crape paper as you cannot write on it and it tears easily. I discovered my error when I ran out of tissue paper with three cups to go! I was lucky I had red napkins and trimmed the edges so that it matched the other cups.
- To make the cups more secure I added 3 layers of cardboard and glued it to the bottom of the cup and then glued to the black foam board.
- Make sure to attach the string to the board before adding the cups. It makes it so much easier to do this when they are not on the board – this way they don’t get damaged.
- Give yourself 2 layers of tissue paper so that little people cannot see what treats await them in the cups.
Now you know what not to do, let’s see what the process is to create this amazing Advent Calendar.
The Process
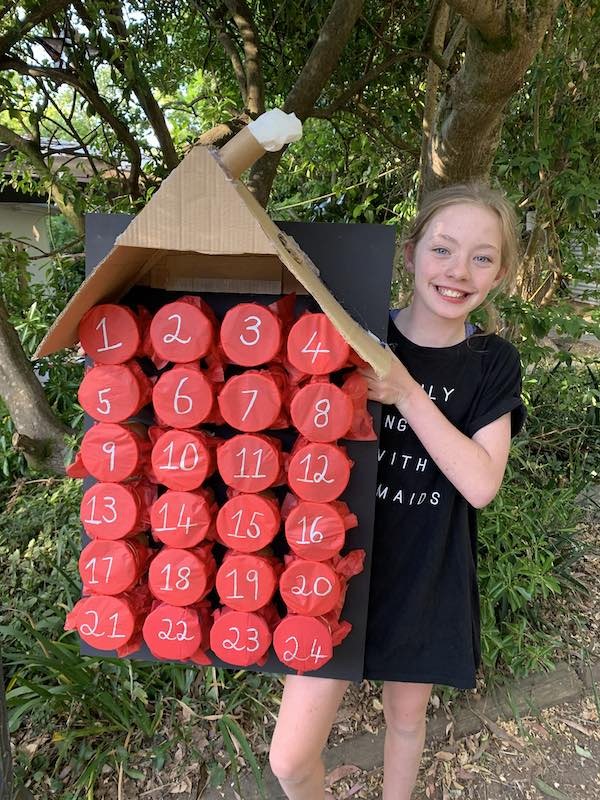
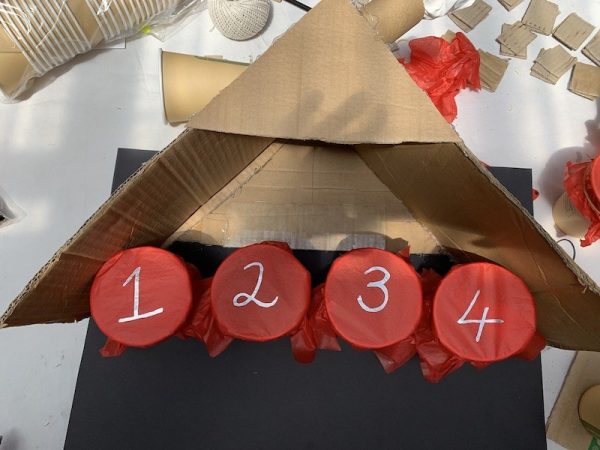
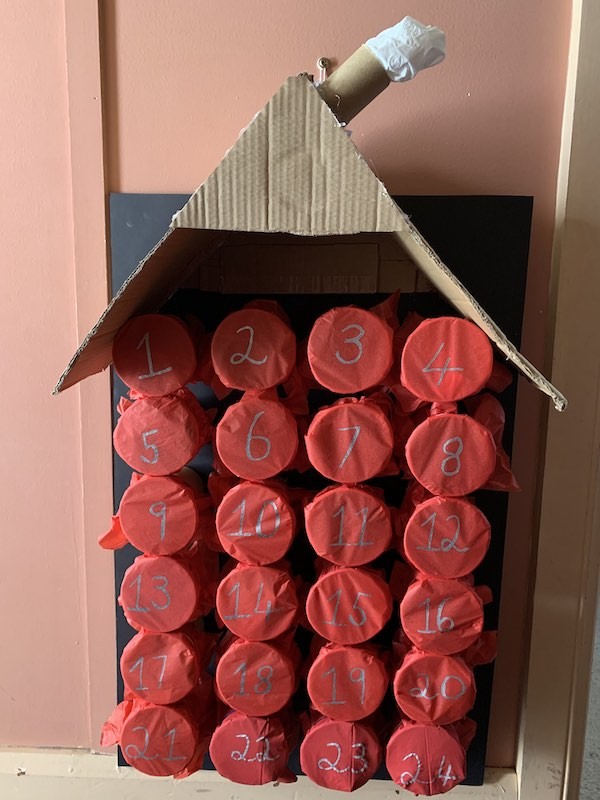
- Construct the top part of the house. Get some old cardboard from boxes and create the triangle roof. Measure the distance between the front and back and then cut out the required cardboard pieces.
- Once the top part is all glued together then glue it to the top of the foam board.
- Attach the string on the back of the board before any cups get added. This is so much easier as you can easily access this area before the cups are there.
- Cut 3 layers of cardboard to fit underneath of all 24 cups (yes that is a lot to do but it will not take long)
- Glue the cardboard together for each cup and glue it to the bottom.
- Add the treats and surprises to the cup
- Add the tissue paper with the number on the cup and secure it with a rubber band
- Now add glue on the bottom and secure the cup to the foam board.
- Make sure that you have the cups all lined up in the right order and having the numbers done might be helpful at this stage.
- Once all done and, on the board, you can decorate with glitter, paint or even do drawings on it if you wish.
- Now hang in your home and wait for December 1st to get started on your homemade advent calendar.
You may also like to read:
Allergy, Anaphylaxis & Intolerance Friendly Advent Calendars